Sidetrack with learning more about sculpting.
Spend a solid 2 hours on this following along with the video lesson.
Tips that I have learnt:
-Alt + D is another way to manipulate deformation from a duplicated object without using mirror modifier.
-To control the orientation, Go to Object → Mirror → X local (for this case).
4 Likes
Very cool man! So it begins! Looks like a great start and look forward to see the progress! Nice tips!
1 Like
Alright manage to work around the Boolean Union Modifier.
Lesson learnt:
-When configuring dyntopo resolution for smoothing some areas, always test and revert back to original state until you find the best resolution to work with.
(Some cases where low resolution can actually deplete some areas of the model)
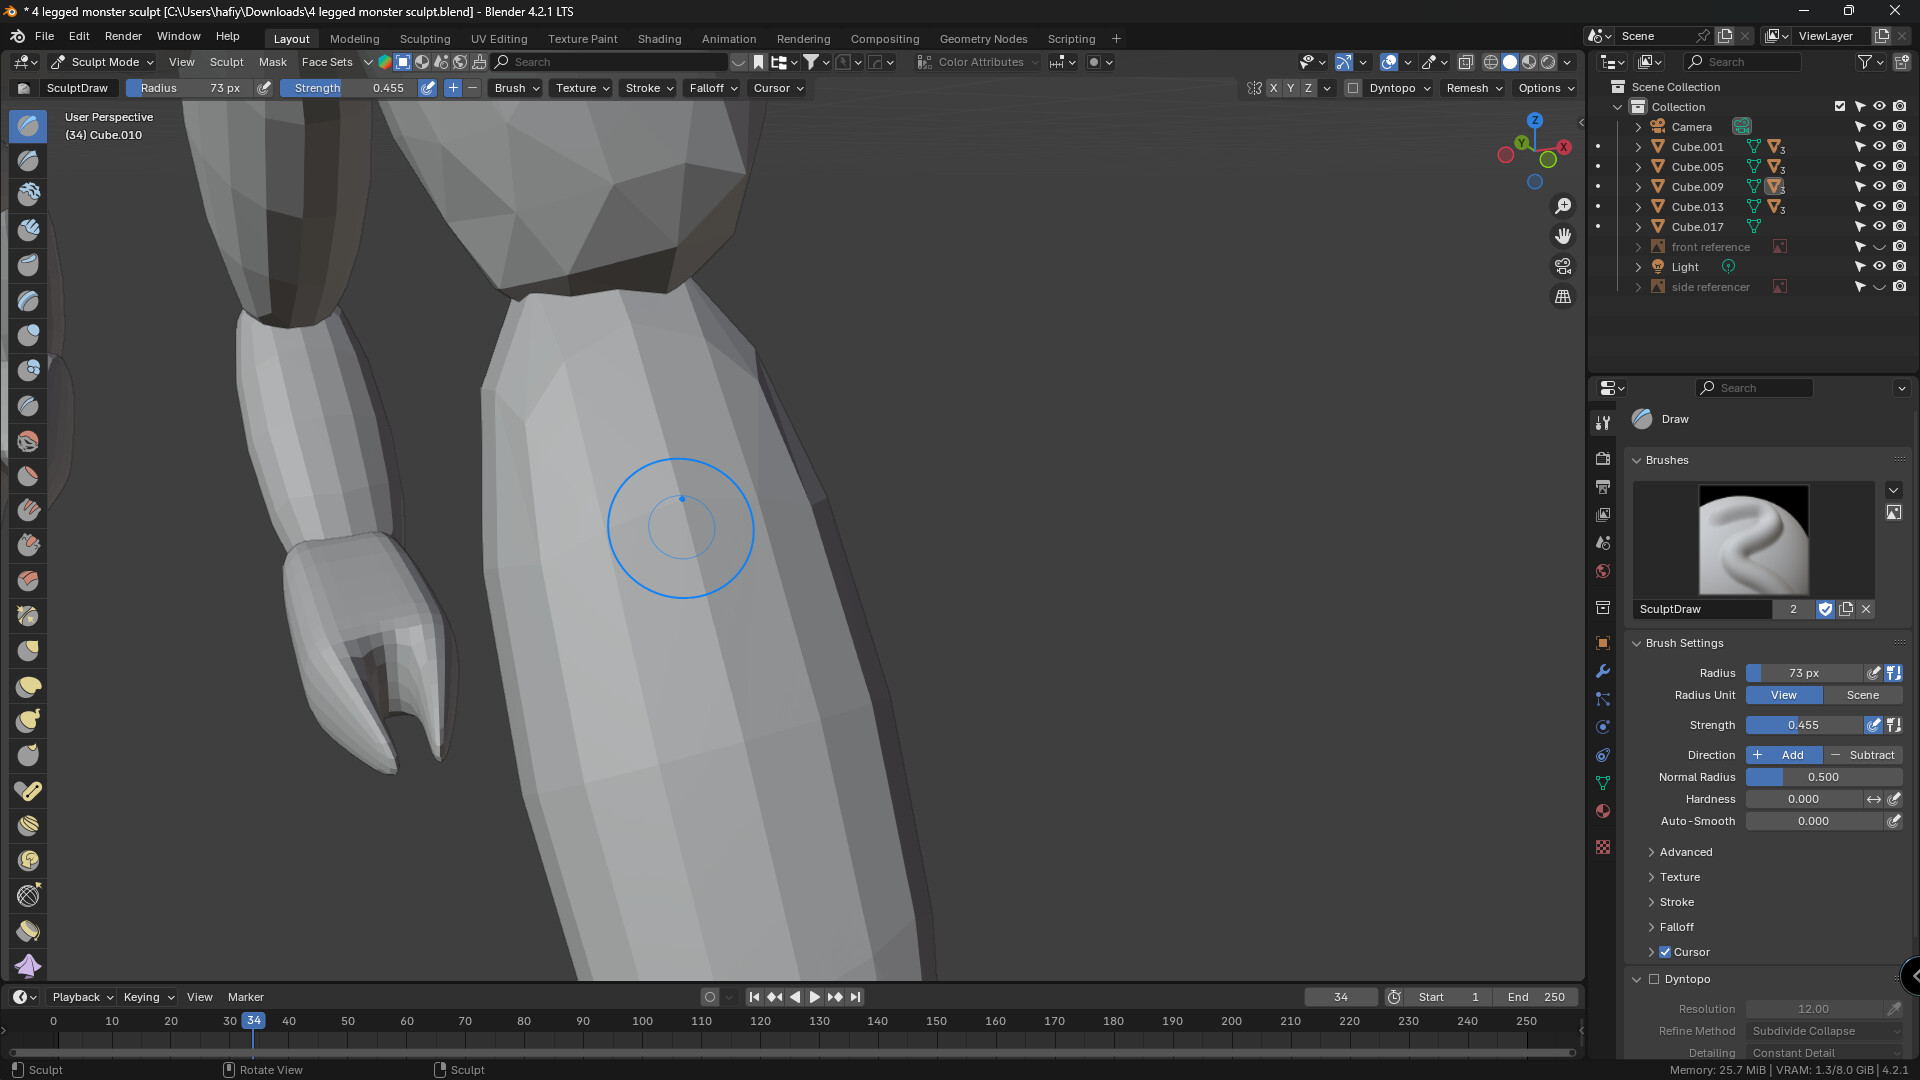
Currently working on the smoothing out the limbs as we are speaking.
1 Like
When I was working on the limbs a few hours ago, I was scaling this part of the limb on a single axis.
So when I was about to start smoothing out this part, I am facing issues of that brush being Oval.
Moral of story: If problem like these resurfaces again, try apply to scale first.
The issue right now is I am not sure if applying scale to this left hand will also carry this effect to the duplicated right hand .
1 Like
Yes you’ll want to apply the scale on everything. That goes for sculpting as well or you’ll have strange issues and results as you can see
1 Like
a
Apparently, it won’t carry over that effect.
My easy fix is just apply scale and then " ALT + D" the front and back limbs.
1 Like
Alright I have juiced up my Doggo with some Tren.
2 Likes
Thank you for the tips! Almost as sharp as that pointed tongue on your beast. Nice so far!
1 Like
Progress update.
Working on the head right now.
Tips:
Using Layer brush for those bumps
Crease brush for those gaps in between the bumps
Abit messy but all is well here.
1 Like
Progress update on the eyes, Jaw and abit of the horns.
So far so good.
For that spine technique, you must control the Stroke % to achieve that stuttering effect.
3 Likes
Work on defining the tricep and bicep.
I tried my best since I had no idea how to refine those muscle anatomy.
Brush used:
Crease
Draw
Layer
Inflate
Grab
2 Likes
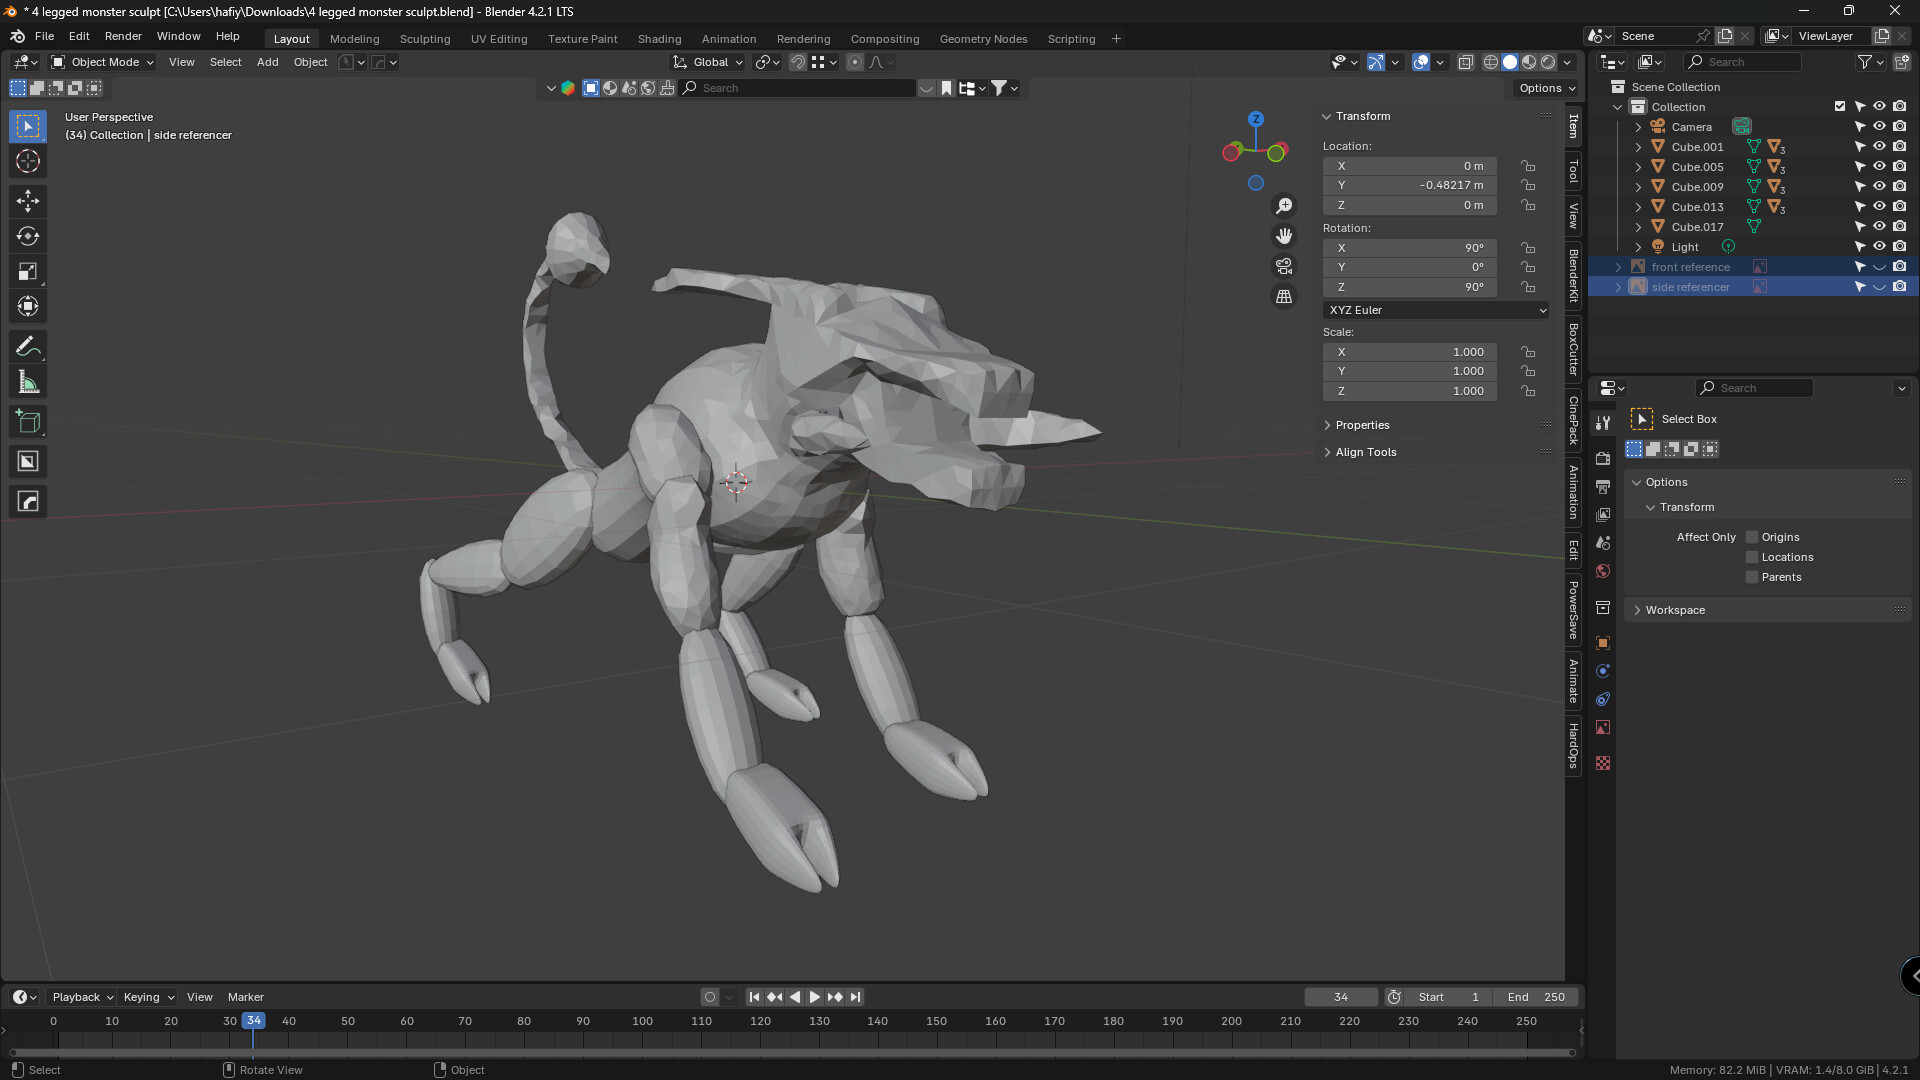
Alright, all 4 limbs have been completed.
In my mind when I sculpt these muscles, all I say is don’t overcomplicate them.
If it looks good, it looks good.
Brushes used:
Draw
Smooth
Inflate
Trynna keep it simple.
Anyways, next will be the tail.
1 Like
This looks great man! It’s coming along together nicely!
1 Like
Worked on the tail,
Something new:
-Lasso tool
-Mesh filter
-Alt + M to confirm the masking
-Snake tool
Next is Phase 2 detailing.
1 Like
Added the eyes.
Some touch up on the mouth and head horns.
2 Likes
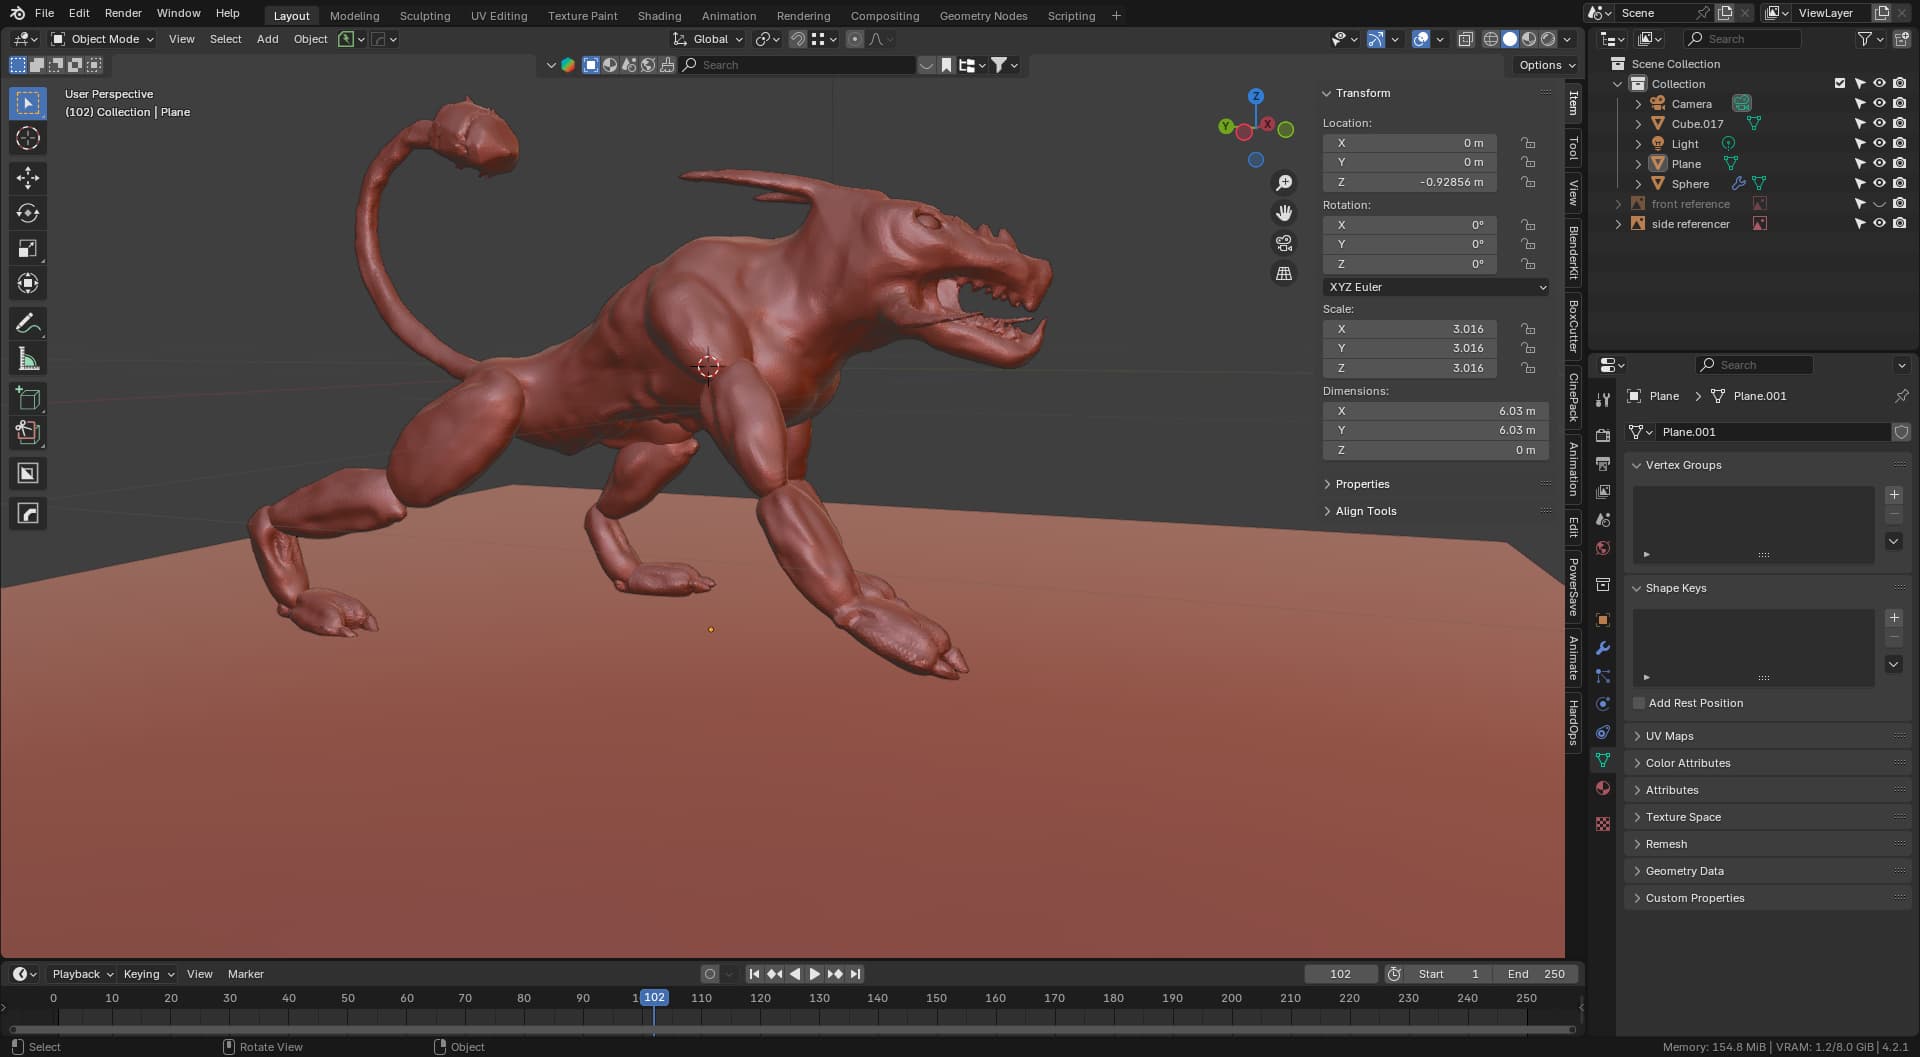
Alright I’ve combine all of them limbs to the main torso via Bool Tool.
2 Likes
Sweet man! You got the whole base done and a lot of the detail! Nicely done!
Alright after working on sculpting, its time to practise retopologizing it by hand BECAUSE WHY NOT?? XD
Initially, I tried to set up major loops for the arms but they are not symmetrized.
So I have improved the workflow where I am only working on the torso with symmetry enabled.
Once that is done, I will be working on the limbs without any symmetry or mirror modifier,
1 Like
Very nice man! For the legs, you could do just one side of the front and back legs and then copy the mesh in edit mode to the other side and mirror it and slightly adjust it and snap it and then connect it that way you don’t have to do the retopo twice on each side
1 Like