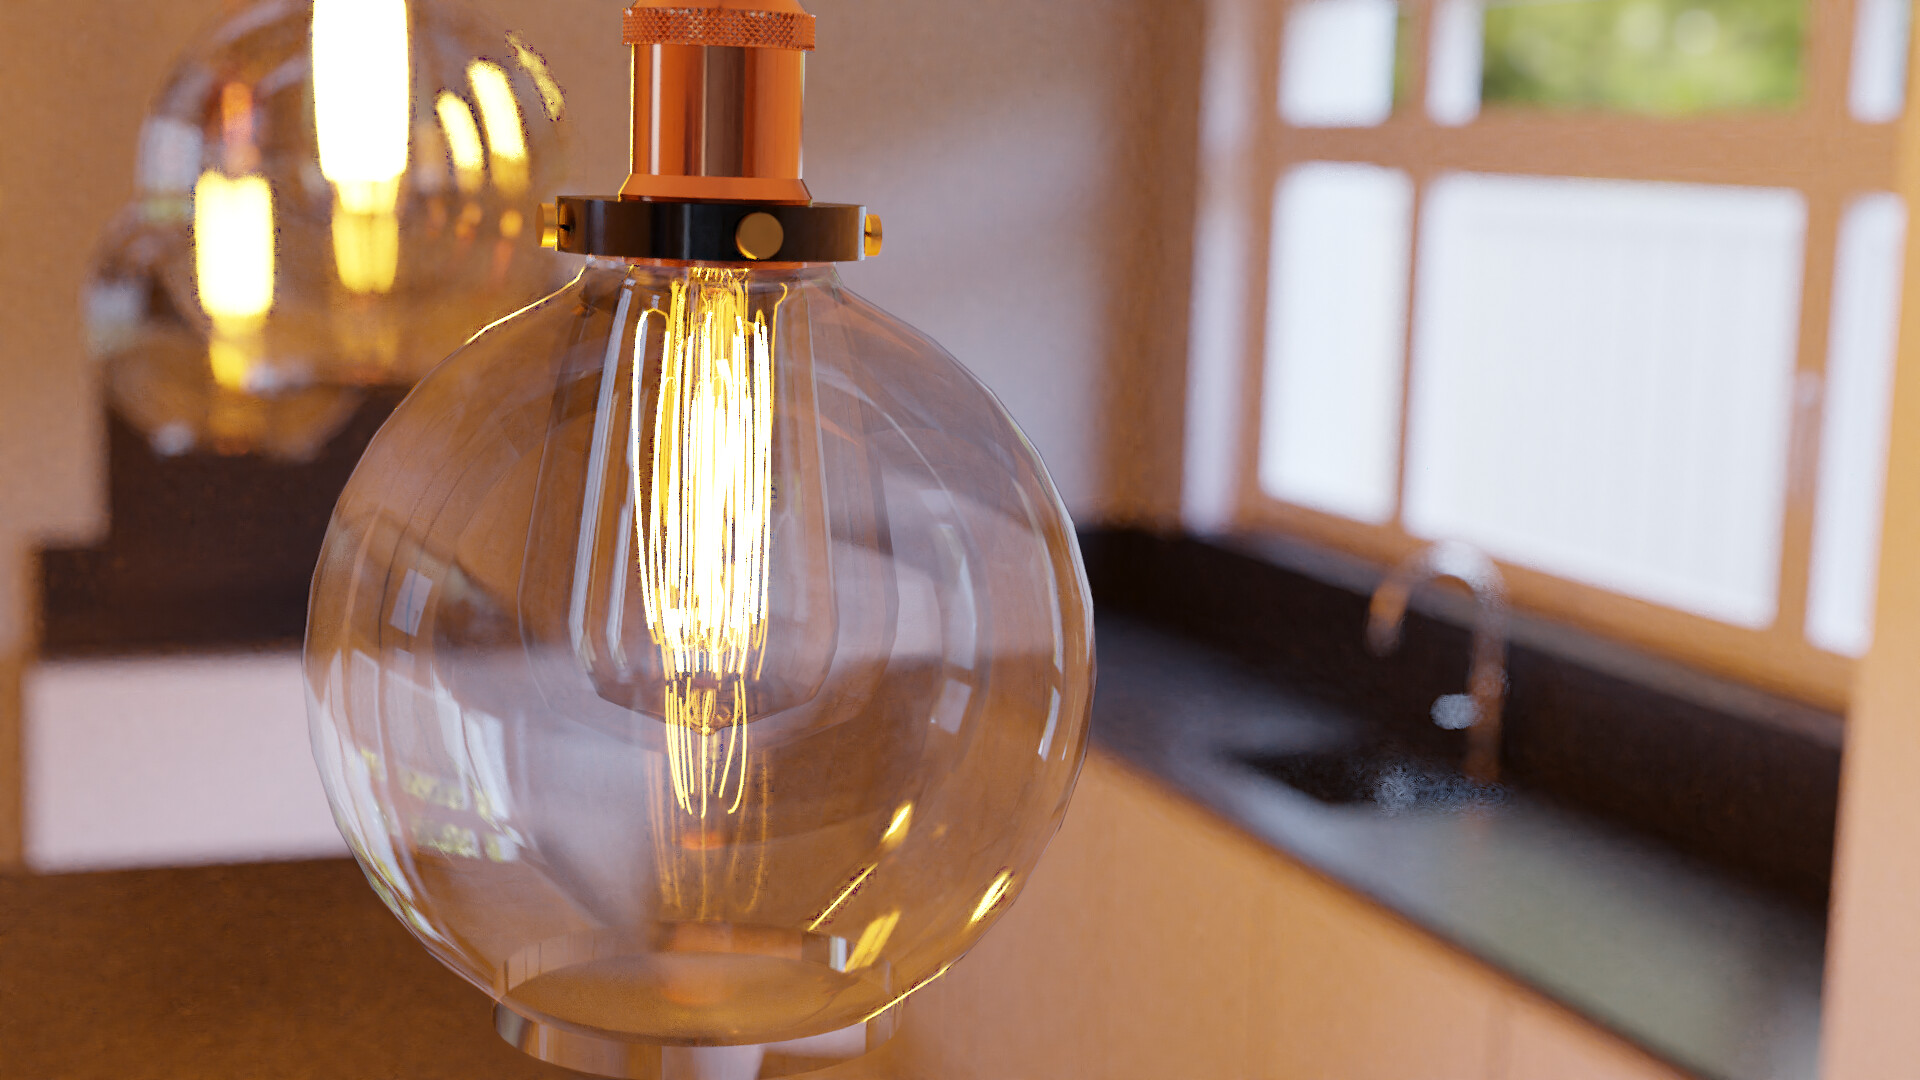
Thanks for the feedback Pete - I had to go up to 1000 samples as when I denoised at 500 samples or less it resulted in a camo patten on the grey surfaces - I think it may because I have so many similar shades of grey it made it very blotchy - this is the first clean looking render I have done of this scene.
I have tried at 16 tiles and 32 tiles (I only have an old macbook with a CPU unfortunately). The reason I have had to denoise is because in the renders earlier you will see a lot of noise as the room was so dark - although I think I am getting the lighting much better in this render.
I have also set the render bounds to the camera, to make sure its not calculating stuff not in the final render.
Never used the workbench - I knew it was there but I assumed that was render engine v1 or something! I did try Eevee, but the render looked awful.
Good point about the animation, might try a simple pass overnight tonight.
Not sure if you have any video editing software or any other software as they will tend to have a denoise/grain removal and also allow you to export a still image so you can use a single rendered image and denoise it outside of blender. For example the one on the left is the render in blender and due to the glass render samples would go through the roof. The one on the right was the same image put into Hitfilm a vfx editing software and denoised and exported.
Thanks all, @FlyingBanana, thats a nice image, I havnt thought about anything outside of blender to denoise. @TheDerpPirateCrispy , I am using the built in de-noiser. What I am finding though is that as I am increasing the light sources (see next images) it is easier to get a cleaner image at lower resolutions.
@catsballetbooksandblender I am sure you could model a castle, although you would need to create your own doors, unless its a very modern castle :)
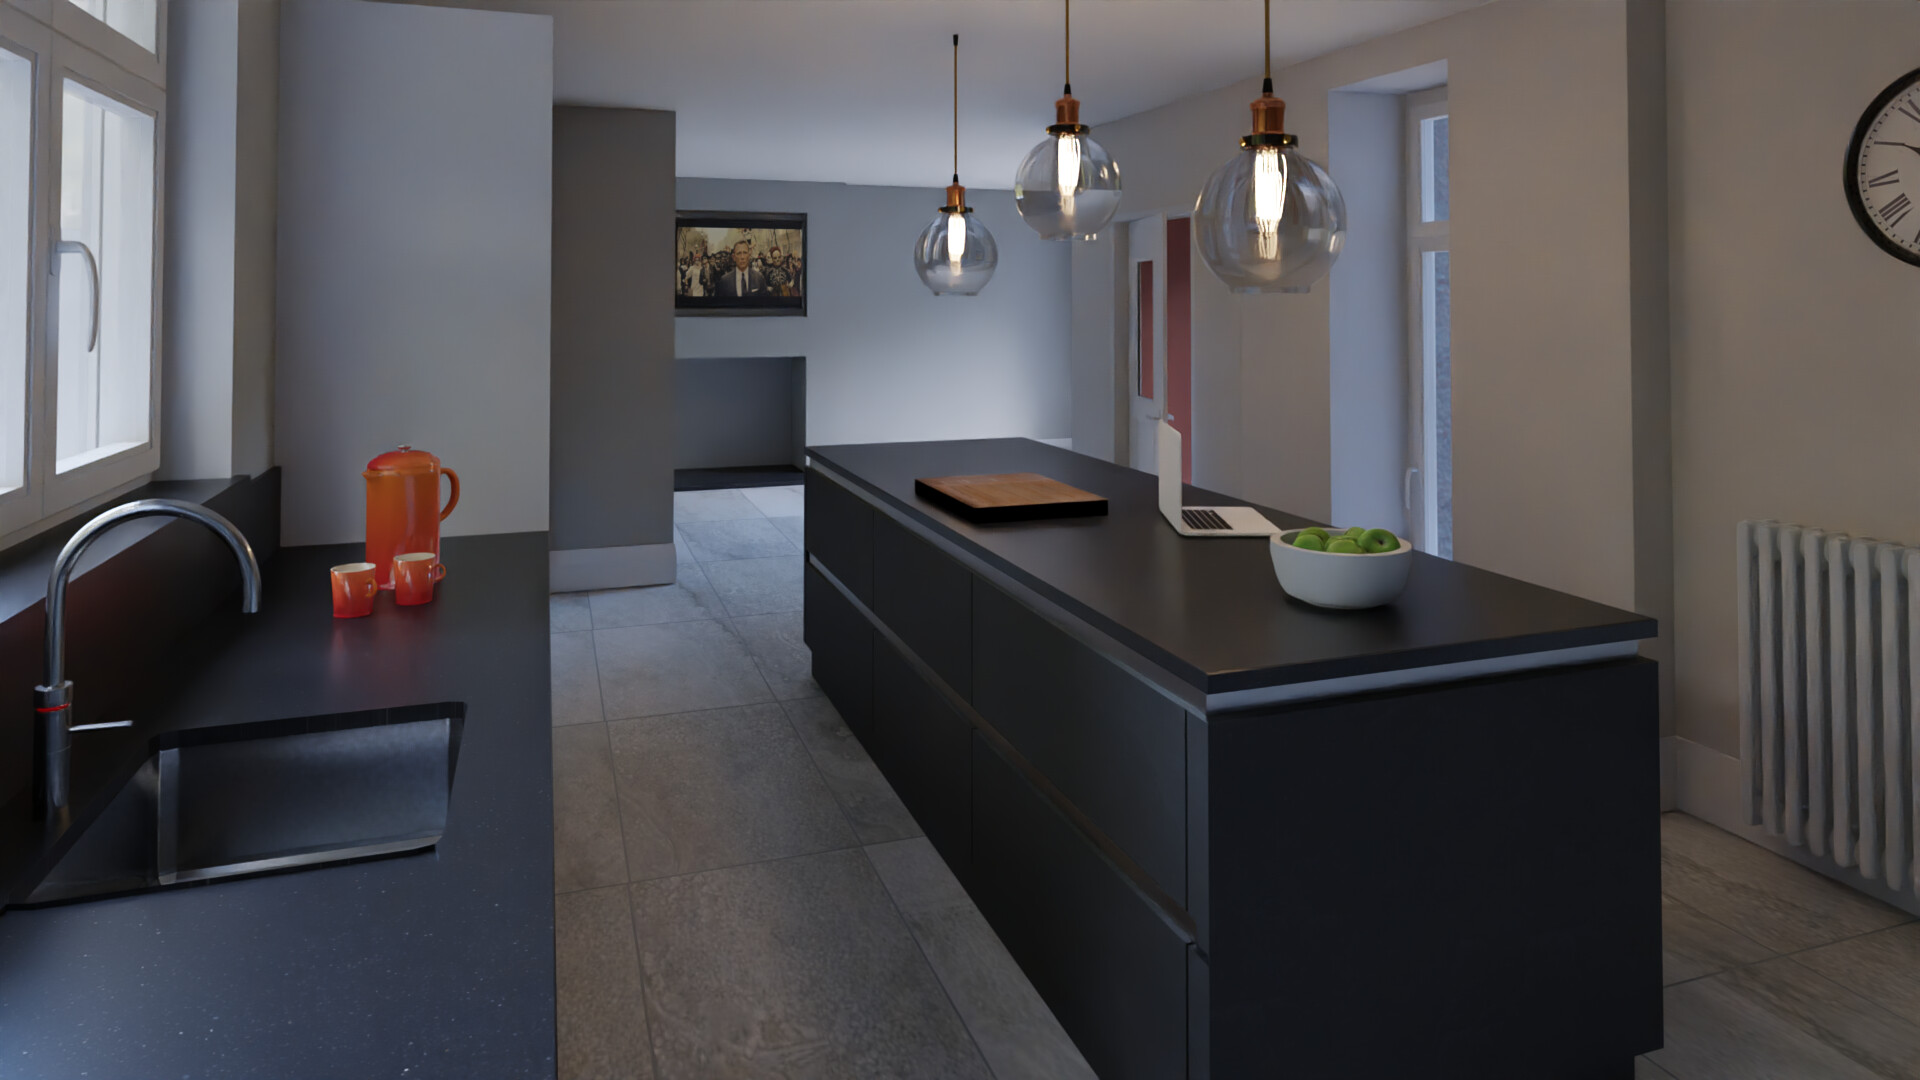
I’m sure people are sick looking at this kitchen, but finally got a workflow I am happy with for rendering indoor scenes. Tonight I discoverd with the Intel ML Denoiser which is available from 2.81 in the compositor and it works like a charm. I have 3 files below,
first image (no computer or apples) is rendered with 1500 samples using the “normal” blender denoiser, this took about 6 hours to render on my little computer - you can see looks pretty good, but where there is large areas of the same colour it looks very patchy.
- second image is a similar image rendered at 100 samples - taking about 15 minutes.
- and finally the same image using the compositor denoiser. Looks a bit too smooth, but will probably up the samples in my final render.
I have a few more objects to add to the scene then this room will finally be complete!